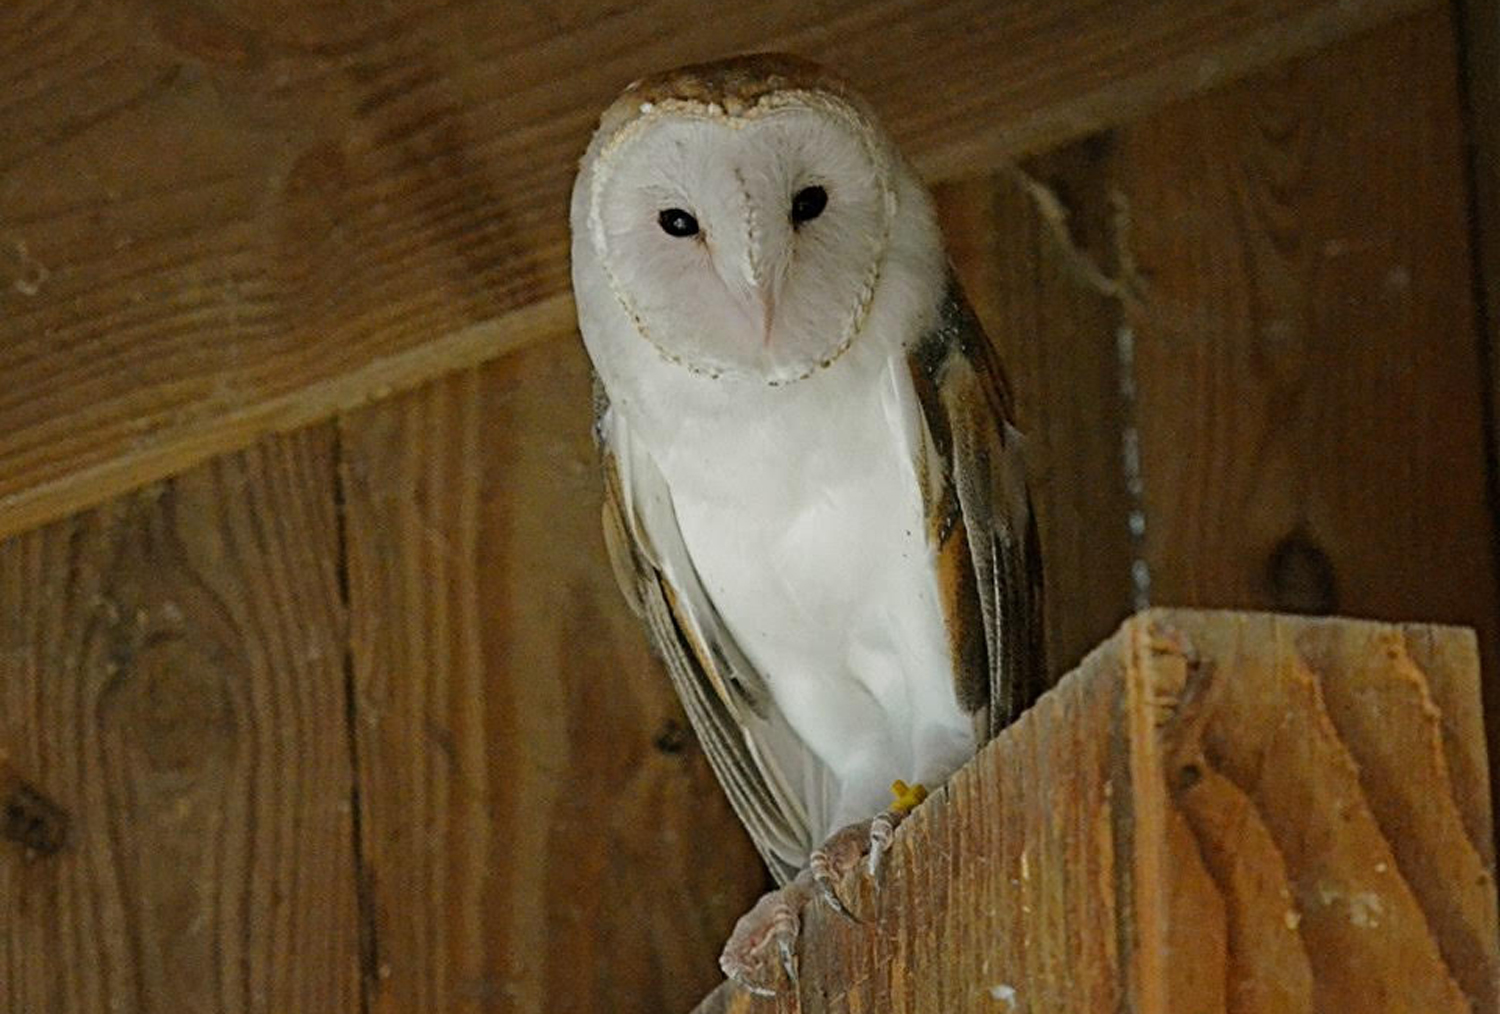
Do your children like to collect things? Are they interested in animals? Why not start a collection of home-made animal picture cards? One card can be created for each animal that interests your child. As the cards increase, so will your child’s observation of the animal kingdom. When you have a nice collection of animal cards, they can be used to teach such concepts as classification.
Actvity Demonstration
My visit to ZooAmerica was a perfect time to begin a home-made collection of animal cards. I sat down to think about what information would be good to have on an animal card. Being a science teacher for many years helped me sift through all the possible information.
- I wanted important categories that could be used for multiple types of animals.
- I wanted information that could be used to sort and classify the animals later.
- I wanted the card to be a reasonable size to handle and store.
- I wanted the information to be easily recorded. If it was too much work to complete the card, then I might get bored with the project.
These are the 10 categories of information that I chose.
1. Name of animal (common and scientific)
2. Type of outside covering
3. Number of legs
4. Warm or cold blooded
5. How born
6. Care of young
7. Natural environment in the wild
8. Prey or predator
9. Herbivore, carnivore, omnivore
10. Means of protection
I knew I could buy an index file box for 5″ x 8″ cards. I could also print two 5″x 8″ boxes on a single sheet of card stock. I decided to try to fit all the information on one side of the card. Here is what I created. I added lists of ideas for some categories and placed a couple of categories on one line.
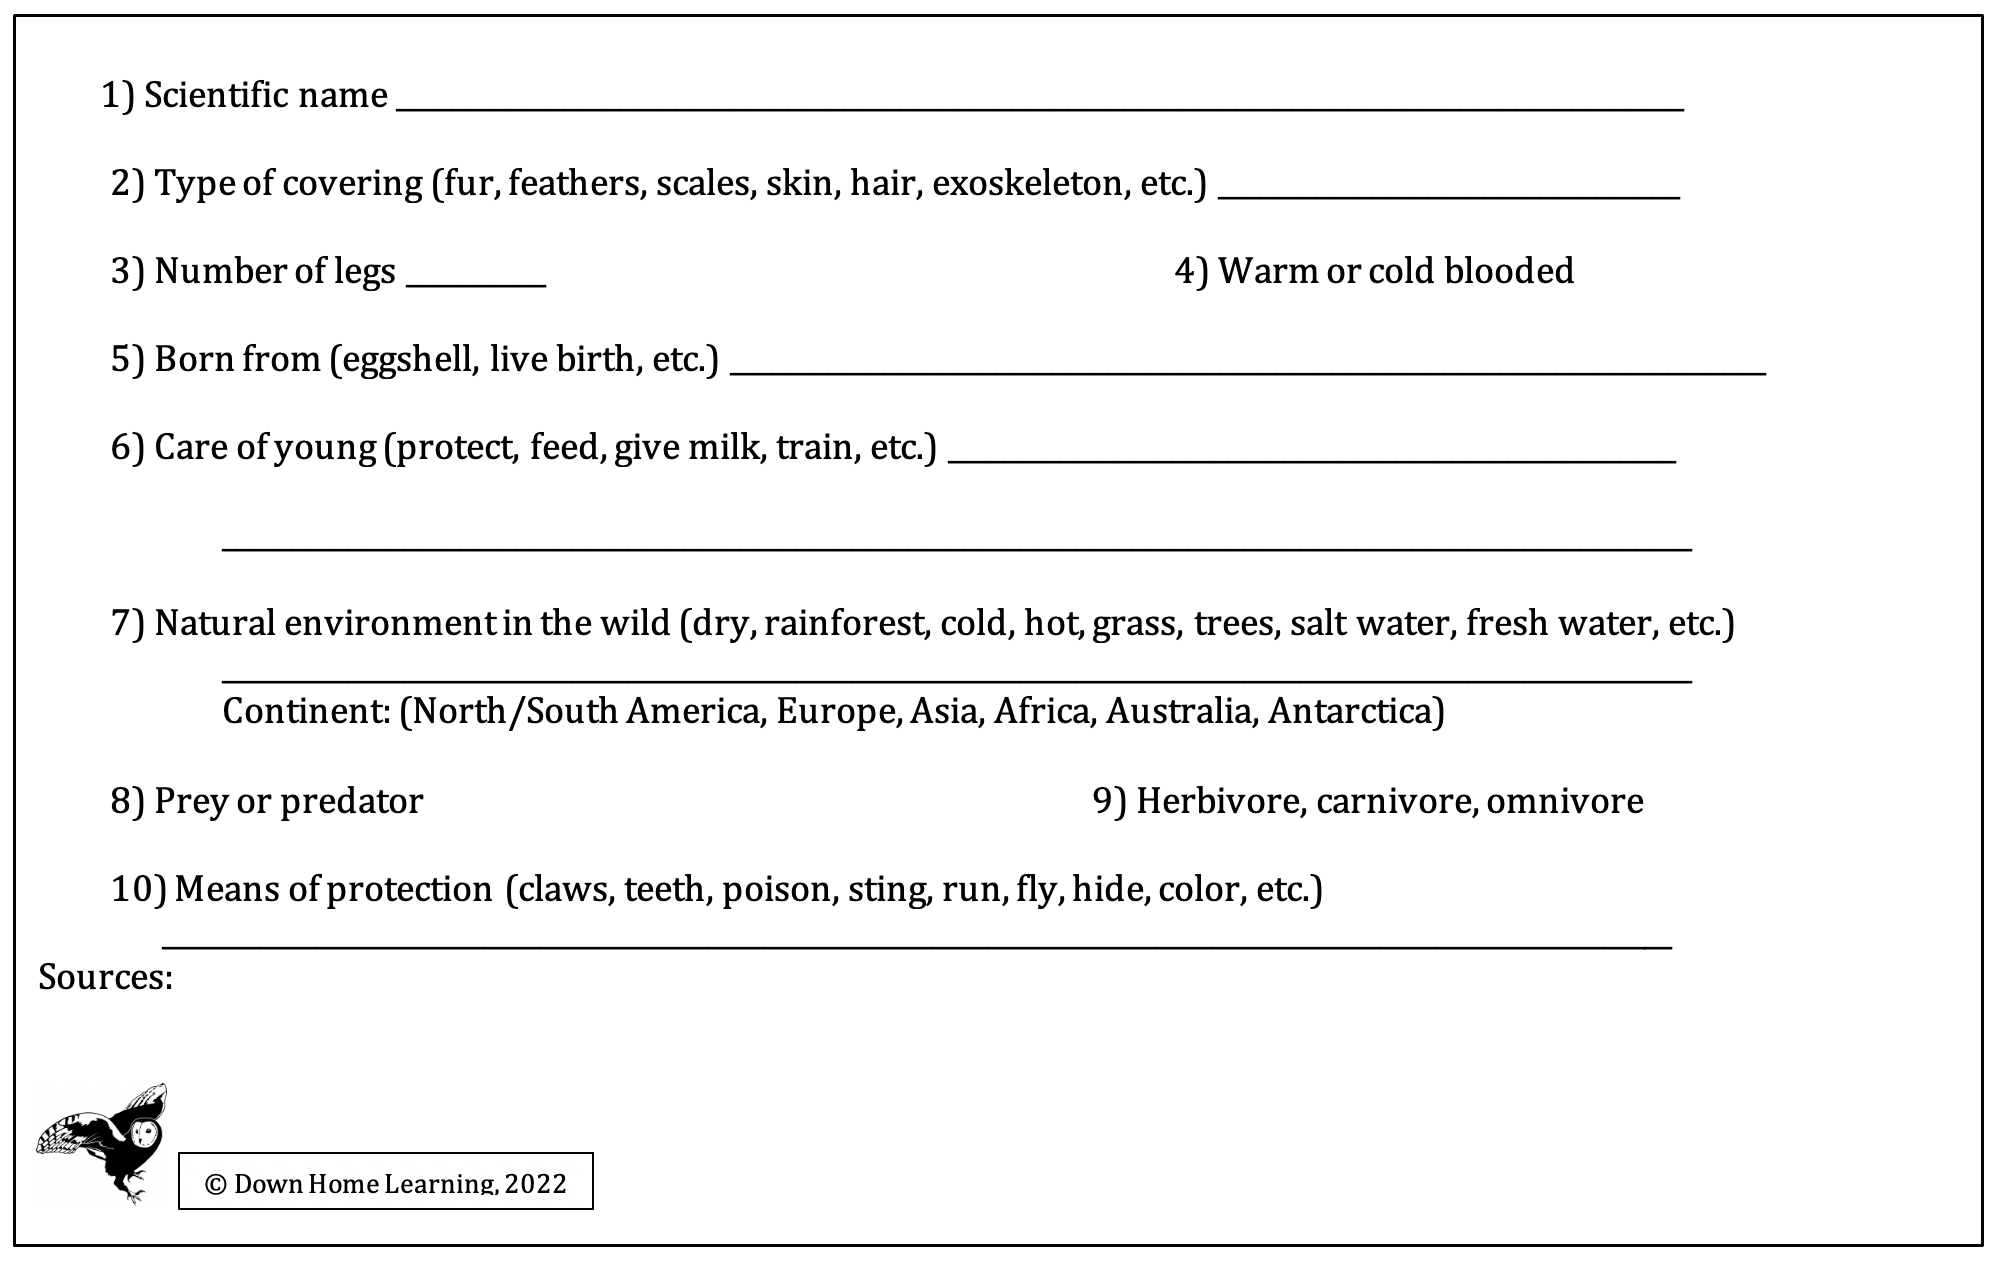
I printed out a sample card to take with me to the zoo. This would help me to remember the information that I wanted to find about each animal.
Before I left for the zoo, I also printed a Field Trip Journal entry form. I filled in the top section of the form. I left the journal entry at home to be completed after the trip.
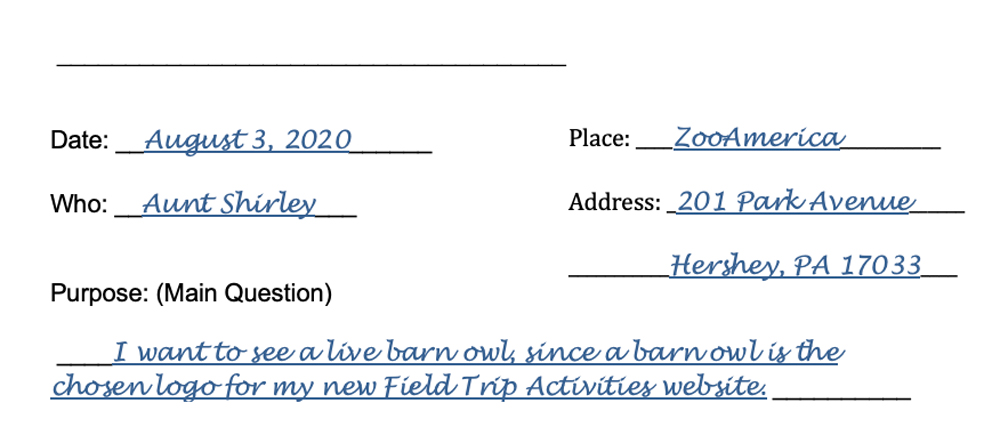
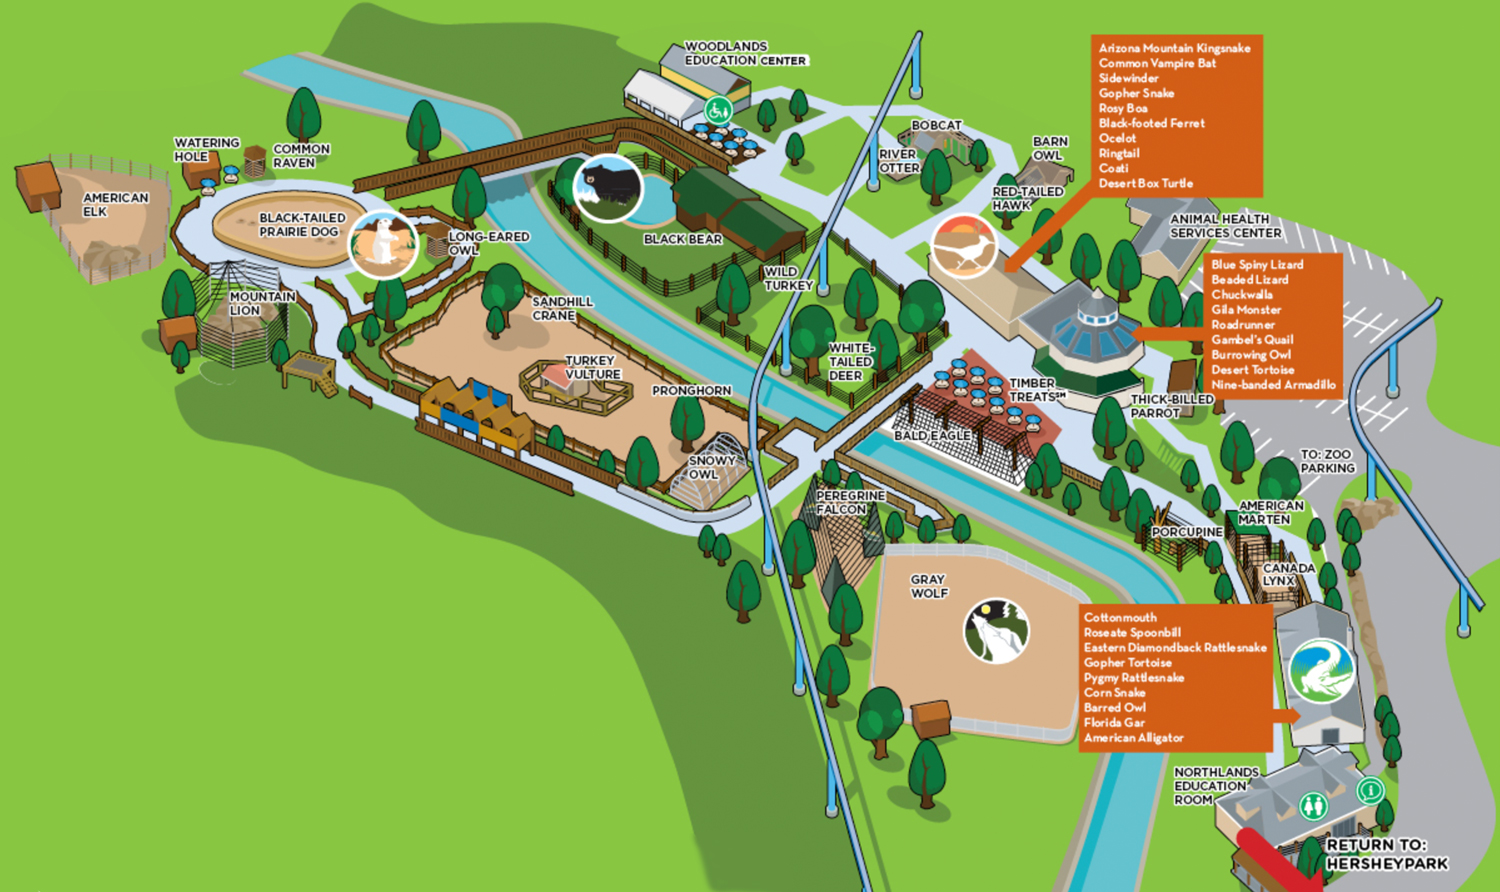
I looked at the map of the zoo that I had printed earlier from the ZooAmerica website. I chose 6 animals that I particularly wanted to see. I circled the barn owl, burrowing owl, snowy owl, barred owl, bald eagle, and bear on the map and took the map with me to the zoo.
I decided think up and write down questions about my chosen animals. If I met a zookeeper or worker, then I would be prepared for an interview.
When I got to ZooAmerica, I discovered that all the buildings were closed because of COVID. I was not going to be able to see two of my chosen animals, the burrowing owl and the barred owl. As I walked around the zoo, I was hoping that I could see the other animals on my list. There were quite a few other interesting animals that I could see.
I looked carefully at the animals. I read the signs and mentally checked off the information I needed for the animal card. Rather than taking notes, I took pictures of the animal and then the nearby sign describing the animal. This way, I would able to fill in the card with the correct information when I got home.
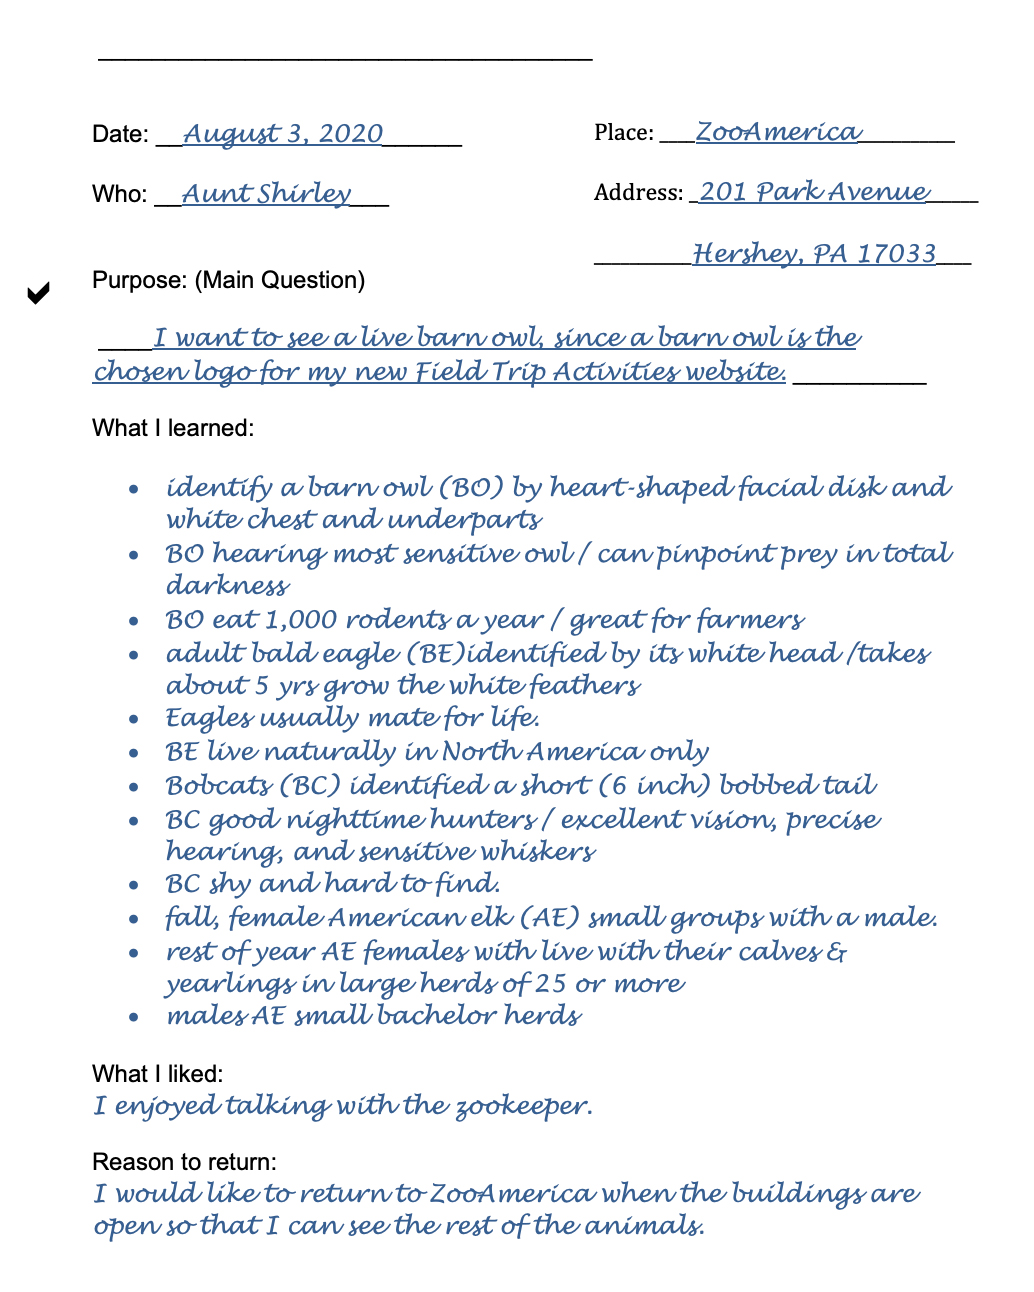
After I got home, I looked at the sign pictures to help me remember what I had learned. I finished filling out my Field Trip Journal entry.
Notice that I did not write in complete sentences in the “What Learned” section. I used abbreviations for the animal names. I made sure that I recorded the meaning of the abbreviation. In the first line I wrote out “barn owl” and put the abbreviation (BO) after the name. From then on, I only used BO instead of writing barn owl.
Here is a copy of my completed Field Trip Journal entry form for this trip. I put a check by my purpose because I successfully accomplished that purpose.
I placed this form in a sheet protector and put the sheet protector in the Field Trip binder with my other journal entries.
Next, I uploaded the zoo pictures from my phone to my computer. I printed out enough animal cards for the 6 animals that I studied at the zoo. I will use the barn owl as an example of how I worked to fill out the animal cards.
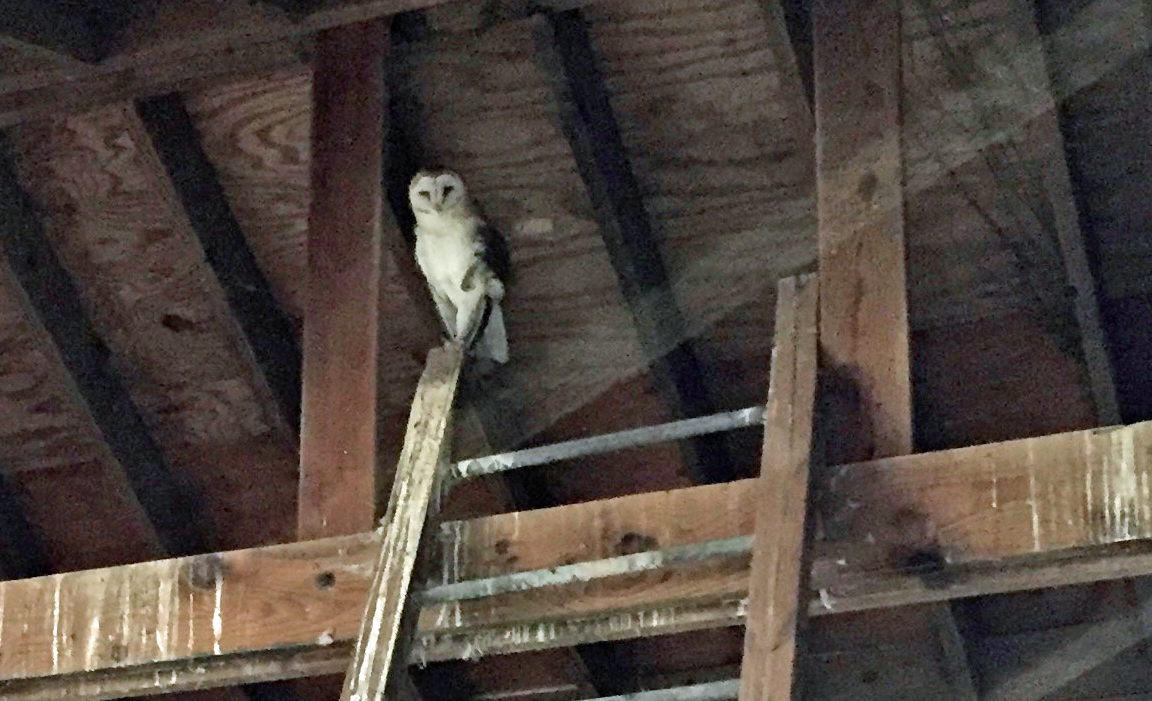
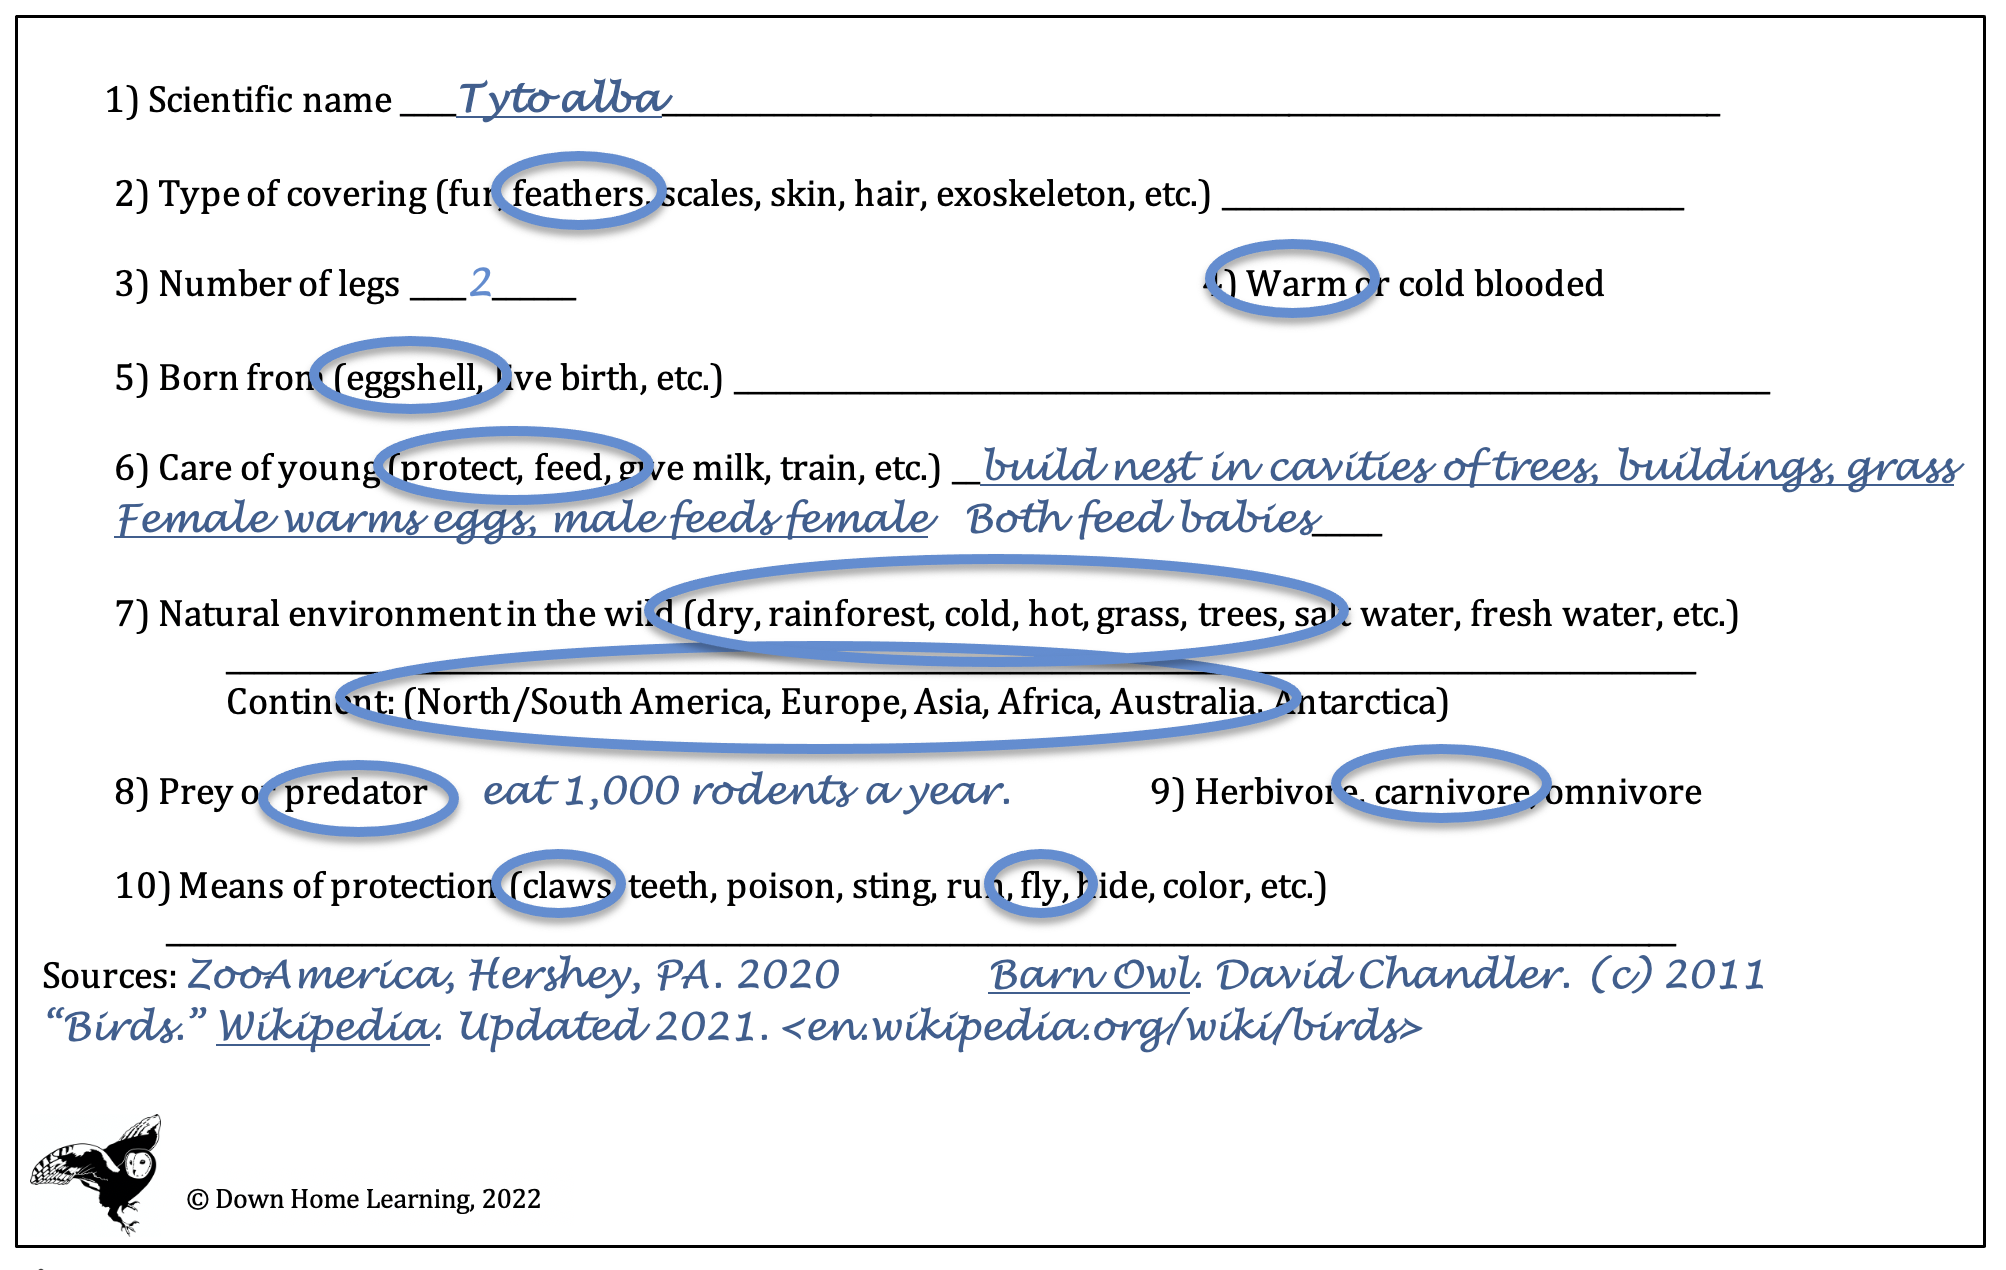
Looking at the picture of the owl reminded me that I saw feathers covering the barn owl. That answers the second category. I just circled “feathers” on the animal card.
The third category wants the number of legs. I can see two. I recorded “2” legs.
The barn owl claws look like they would be good weapons for protection. I circled “claws” on the last category.
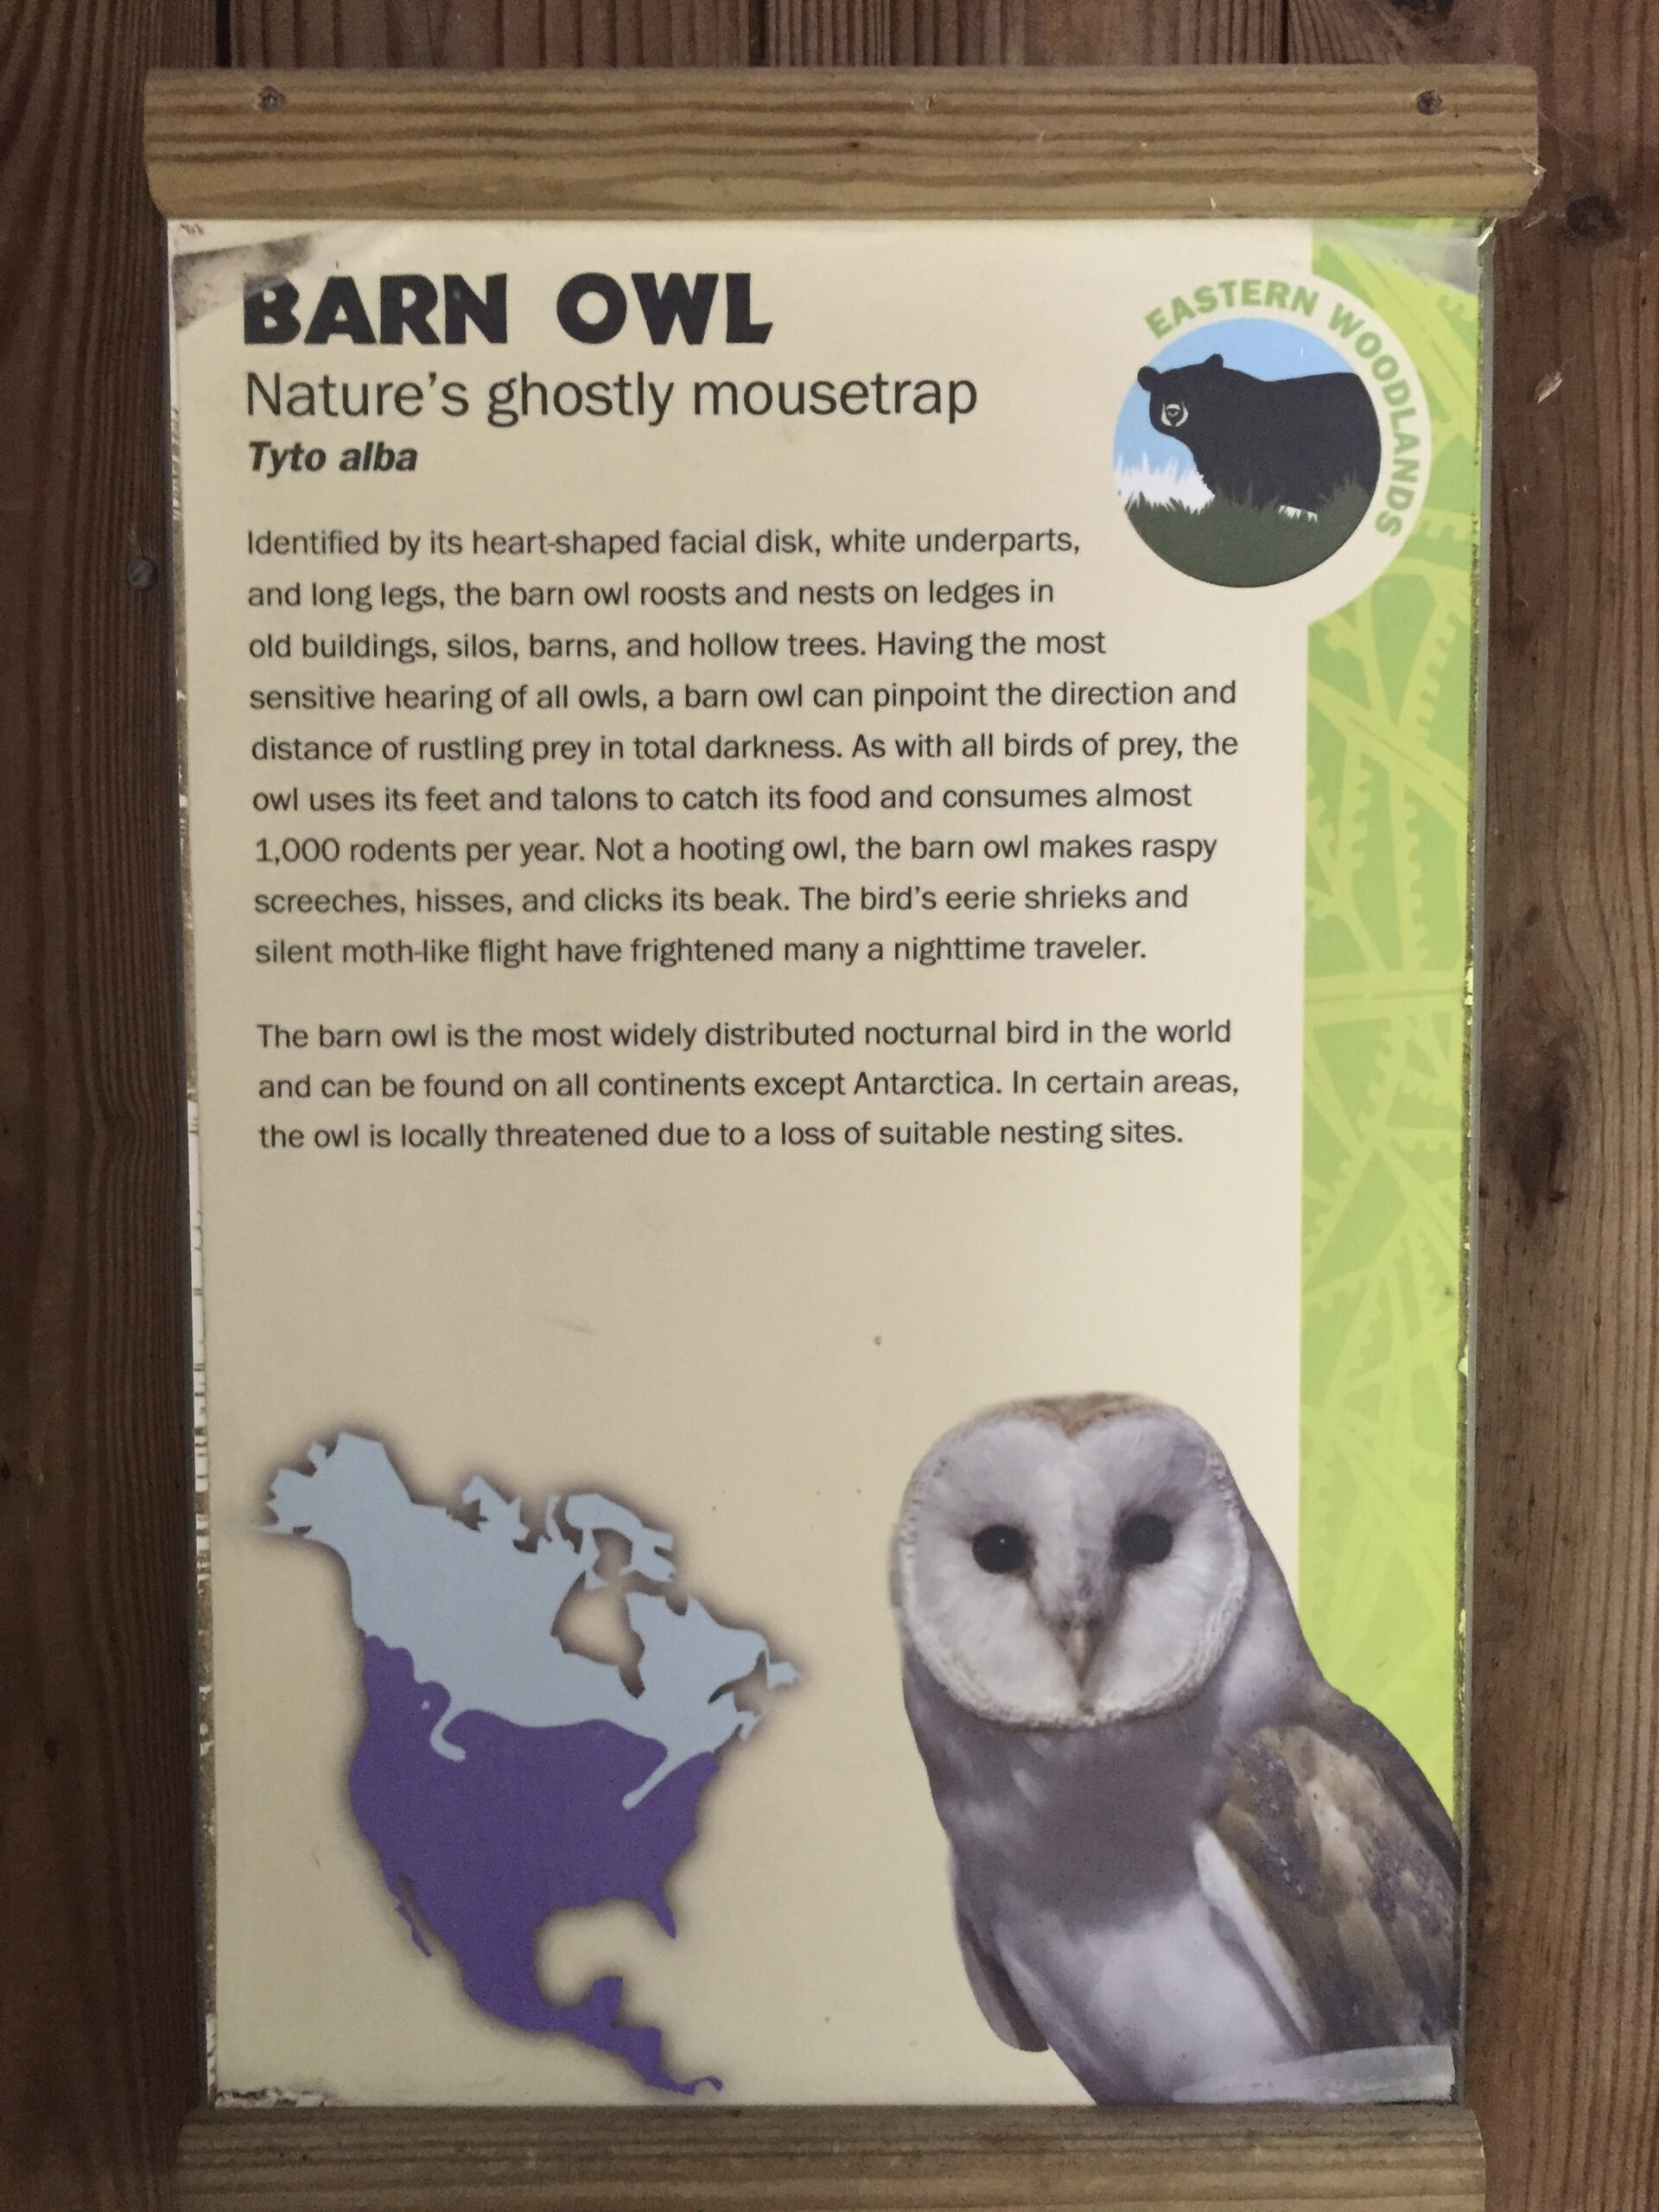
Here is a copy of the sign that was near the barn owl. On the third line of the sign is the scientific name of the barn owl. I wrote that on the line by the first category.
The sign says, “As with all birds of prey.” This means the barn owl is a predator. I circled “predator” in category 8. I was impressed that the barn owl can eat 1,000 rodents per year, but here was no place for that interesting fact on my card. Maybe I can squeeze it in between number 8 and 9?
In the last paragraph, the sign says that barn owls “can be found on all continents except Antarctica.” I circled all the continents in number 7, except Antarctica.
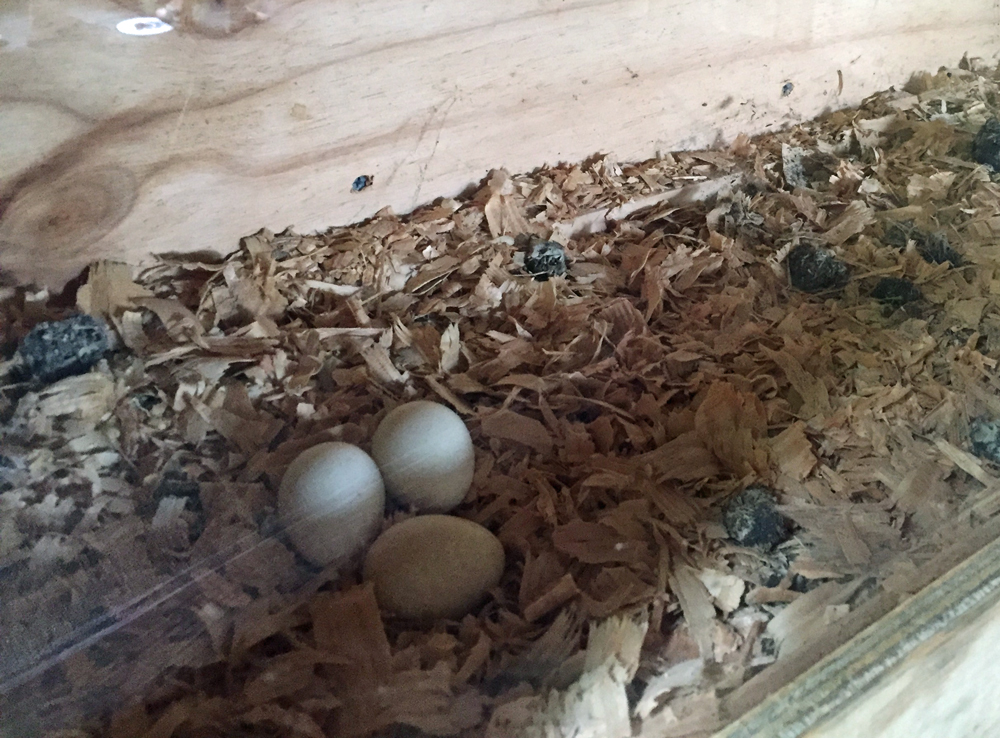
Near the barn owl were several display cases. One of them was a sample nest box. Inside, I could see three eggs. This answers the fifth category. I circled “eggshell” because that is how the baby barn owl is born.
I filled in all the information that I could from the zoo signs for each animal. I still needed some information, so I got a book about barn owls. I was able to find more information in the book. The Internet encyclopedia, Wikipedia, help me record the last bit of missing information.
I worked as a school media specialist for many years. I know how important it is to list the sources of information. People work hard to create signs and books and I need to give them credit. It is also important to give the date in which the material was written. This proves that you have up-to-date information. At the bottom of the animal card, I listed the three sources of information that I used to fill in my card.
Here is a copy of the information side of my barn owl card. (Yes, there is a plan for the other side.)
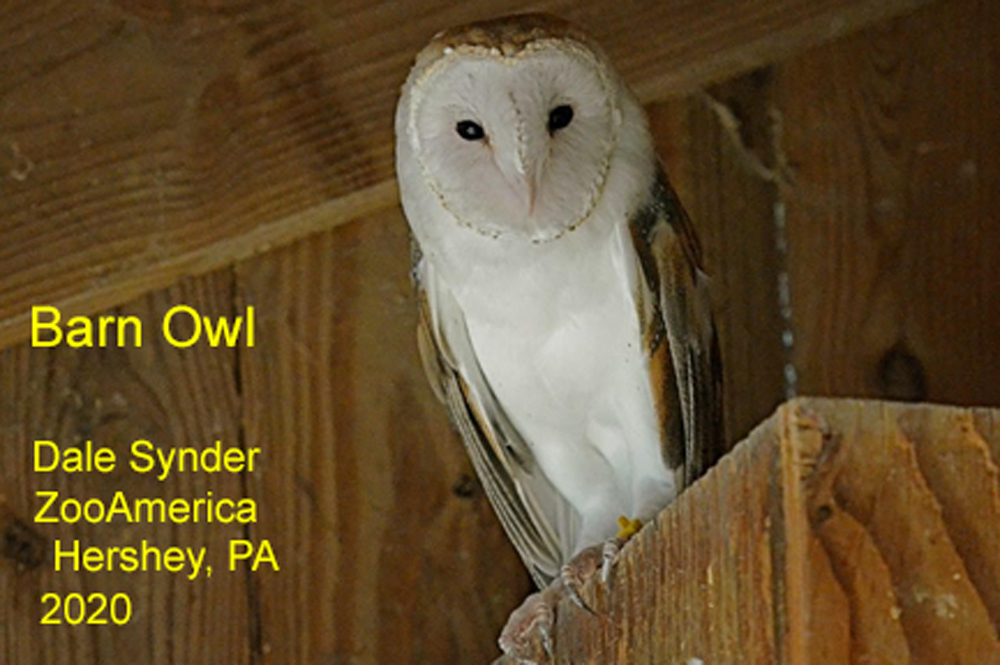
I decided to use the other side of the animal card for the animal’s common name and for a picture of the animal. The picture needed to be about 4″x 6″. This would ensure that it would fit on the back of the animal card.
I had to be quite far away when I took my picture of the barn owl. This made the close up of the owl very blurry. The zookeeper sent me this close up of the owl. His picture is much better than mine. He gave me permission to use the photograph on my website.
When a person seriously collects items, s/he should record when and where the item was collected. This is true for rocks, fossils, shells, and photographs.
You will notice that I gave the zookeeper credit for the picture he took for me. I also recorded the place and year the picture was taken.
The common name of the animal, barn owl, is also written on the picture. (I used Photo Shop to size the picture to 4″x 6″ and to add the words.)
I printed the animal card with the barn owl information on card stock . Then I printed the finished picture and attached the picture to the back of the barn owl animal card.
I repeated these steps for the other 5 animals that I chose to study at the zoo. All 6 cards were put in a 5″x 8″ file box.
Activity Directions
This activity can be used for a field tip to any zoo or other place that features animals. I suggest that you visit a medium size zoo or only a few section of a large zoo. It is difficult to cover a large zoo in one field trip. This activity could also be used on a virtual field trip to a zoo’s website.
Materials needed
- Camera (cellphone is fine)
- Card stock: a light color works best because the writing will show up more clearly (multiple color pack is best if you have multiple children)
- Computer/ printer
- Map of zoo
- Copy of the Field Trip Journal entry form
- Copy of the animal card
Pre-Trip Activity
There are several steps that should be completed before you go on the field trip to a zoo.
- Select a zoo or other place that features animals.
- Go to the website of your chosen place. Print out the map of the area. One map for each child. Help your children to select 6 favorite animals in the zoo. (Guide them to select animals in a reasonable area. One that you will be able to cover in one field trip.) Have each child circle the chosen animals on his/her map. Picking one special animal could become the purpose of the trip.
- Have your children think of a few questions that they would like answered about each animal. If they meet a zoo worker, these questions can be used to start a conversation.
- Together, plan the most efficient path to take at the zoo. A path which will make it possible to view all the chosen animals.
- Print a copy of the Field Trip Journal entry for each child.
- Print a copy of the Animal Card for each child.
Field Trip Journal Entry Form
Download and print this PDF Field Trip Journal Entry Form by clicking on the button below.
Animal Information Card
Download and then print this PDF copy of two blank animal information cards by clicking on the button below.
- Have each child complete the top section of the Field Trip Journal entry. Which animal do they especially want to see?
- Each child should take one animal card with them to the zoo, to help them remember the information for which they are looking.
- Each child should also have his/her own map. (I always like to designate a place to meet if we should become separated or if the child gets lost. Mark this place on your child’s map.)
During Trip Activity
Remember that this field trip should be an enjoyable educational experience. For this reason, I strongly suggest taking pictures of the signs in the zoo. Don’t make your children record notes while they are looking at the animals.
- a Be sure to stop at each of the chosen animals.
- Have your child take picture of the animal. (A landscaped picture will work best, horizontal length longer than the vertical.) Have the child also take a picture of the nearby sign that tells about the animal.
- Take time to really observe the animal. Discuss the appearance and behavior of the animal. How does the animal move? Does the animal seem to be intelligent? Ask your children if they would like to be that animal?
- If your child sees an animal, not on the list, that catches his/her interest, then add it to the list. Let them observe and take pictures of that animal, too. This animal should be circled on the map.
Post Trip Activity
Before you begin the record keeping work of the field trip, let each child talk about his/her field trip experience.
Field Trip Journal
- Have each child think about special things that they learned while at the zoo. Have them check the pictures of the signs, to be sure the facts they remembered are accurate. Then have each child record those facts on the Field Trip Journal entry. Since they will be recording facts on the animal cards, they only should record a few of the interesting ideas that won’t fit on the animal card.
- Have your children consider what they liked about the field trip. Would they like to return, why?
- Put the Field Trip Journal entry in a sheet protector and add it to the Field Trip Binder.
Animal Card
- Print out as many copies of the animal information cards as there are animals to describe. (It is suggested that each child only completes 6 animal cards. You don’t want to over do research and give your children a bad feeling for research.)
- If you have multiple children, then designate a specific color of the card stock to each child.
- Have your children cut out the animal cards of their personal color.
- Upload the pictures taken at the zoo to your child’s computer.
- Help your child crop each animal picture to a 4″x 6″ size. The pictures work best if they are landscaped (4″ high and 6″ wide.)
- Either use the computer to print the required information on the picture and print that copy, or print the picture and handwrite this information. [Common name of animal, where the picture was take (name of zoo and state), and year the picture was taken.]
- Attach each completed picture to the back of an animal card. (I have come up with a way to print the picture on the back of the card. If you are interested in using my template, then send me a message in the “Stay in Touch” box at the bottom of the page. Be sure the mention what you want in the message area.)
- Have your children look at the pictures, now on the back of each card. Help them to remember what they observed while looking at the animal at the zoo. What categories can they answer? Have them record the answers those categories on the appropriate card. Mark each card one at a time.
- Have your children look at the pictures they took of the signs at the zoo. What categories does the sign help to answer? Have your children record the answers those categories on the appropriate card. Mark each card one at a time.
- Wikipedia is a good source of information. Help you children find and read an article on Wikipedia about each animal to find the remaining unanswered categories. Make sure that your children record the name of the article and to check at the bottom of the page to find the year in which the article was “last edited.” They should also copy the URL of the website page.
- If any category is still unanswered, then your children can either stop or go to a library to find the missing information.
- Put all the animal cards in a single 5″x 8″ file box. Since each child has their own color for the cards, it will be clear which cards belong to whom in the community box.
Encourage your children to continue building his/her collection of animals cards. Take pictures of animals that your child sees in your backyard, on another field trip, and their pets. Fill in an animal card for each different animal. It will be best if they collect an assortment of mammals, fish, reptiles, birds, insects, etc.
